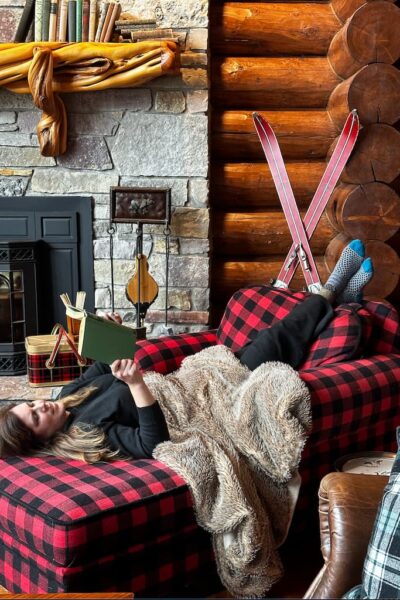
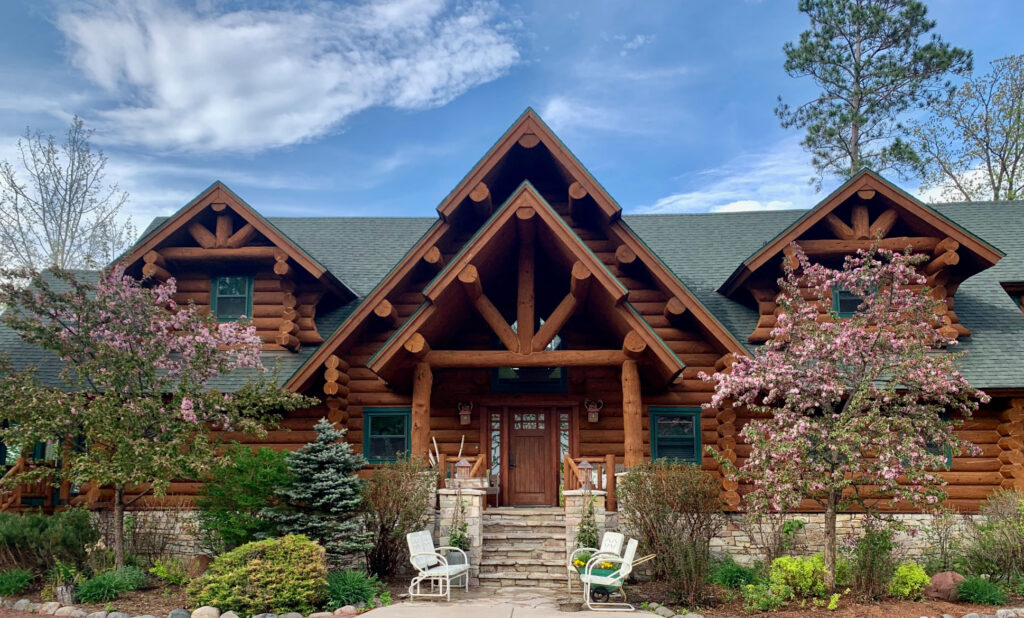
In 2013, we made the exciting decision to move to Camp Paradise, our lake house, full time. We became the second owners of a charming full log cabin located in the serene Northwoods of Wisconsin. The original owners had designed and built it as a vacation retreat, and we were thrilled to continue its legacy.
(Affiliate links are used for your convenience. Read my full disclosure here.)
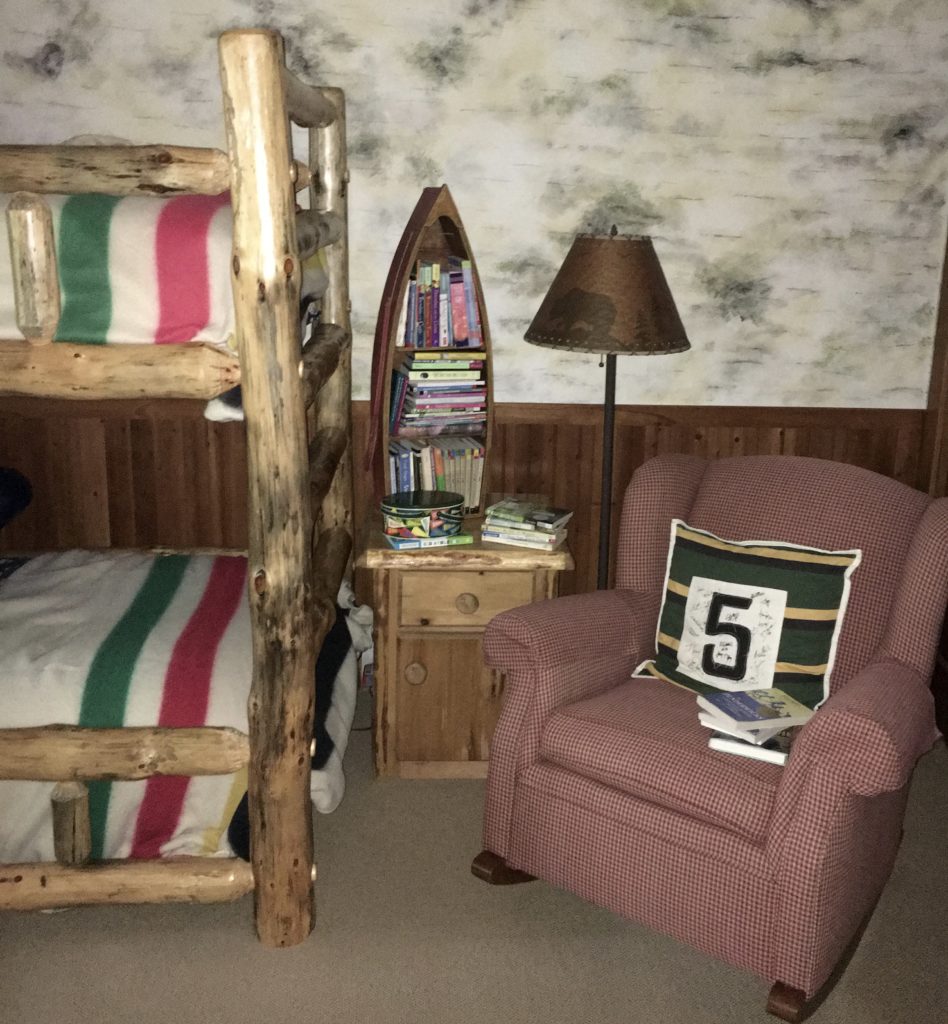
In the early years while vacationing at Camp Paradise, our five kids would all pile into the bunk room to sleep. Those were some of the most precious moments—full of laughter, stories, and memories. I still fondly recall sitting in the rocking chair in the corner, reading to them long into the night as they snuggled into their cozy, camp-striped blankets before drifting off to sleep.
When we moved North permanently, our kids were also growing up and wanting more space to themselves, so the two older kids moved to the two available rooms upstairs.
You can read more about our decision to move in this post.
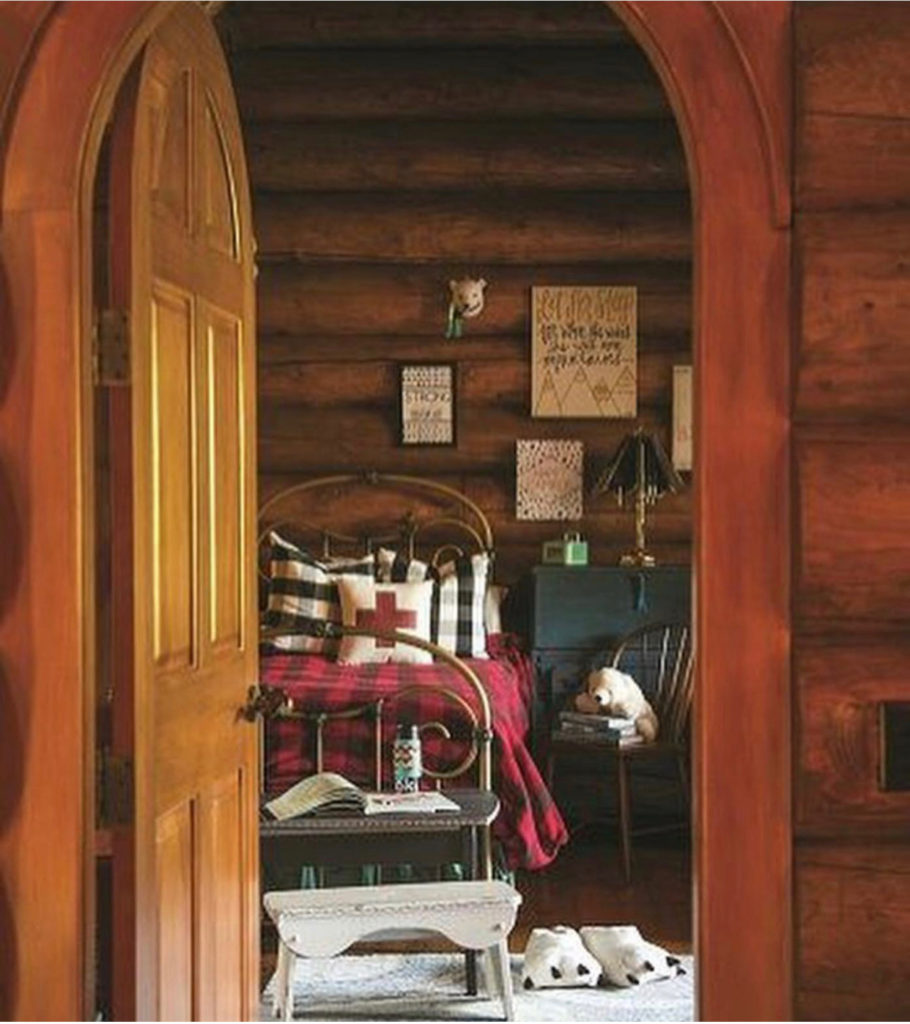
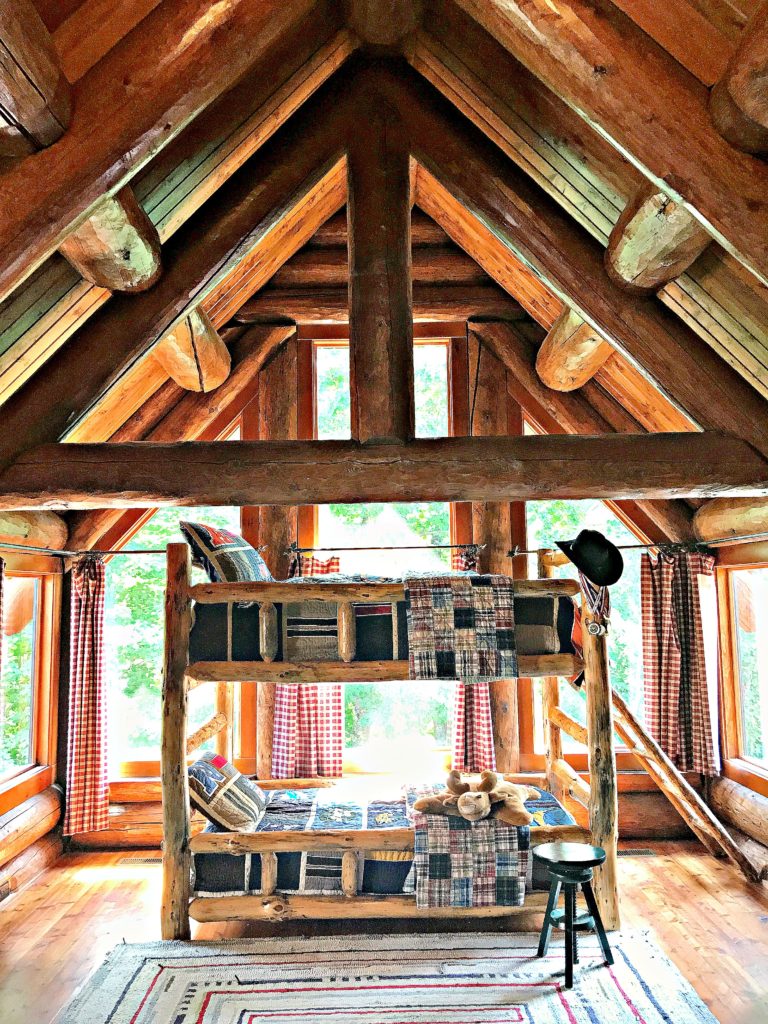
The kids were spreading out into the house and more guests were starting to come and visit.
There’s an often said phrase around our area, that you will never know how many friends you have until you own a lake home. We loved having friends and family come visit and were always extra excited when grandparents would start coming for longer stays as they retired.
We started dreaming about having a designated space for guests as well as more room for our kids as they grew.
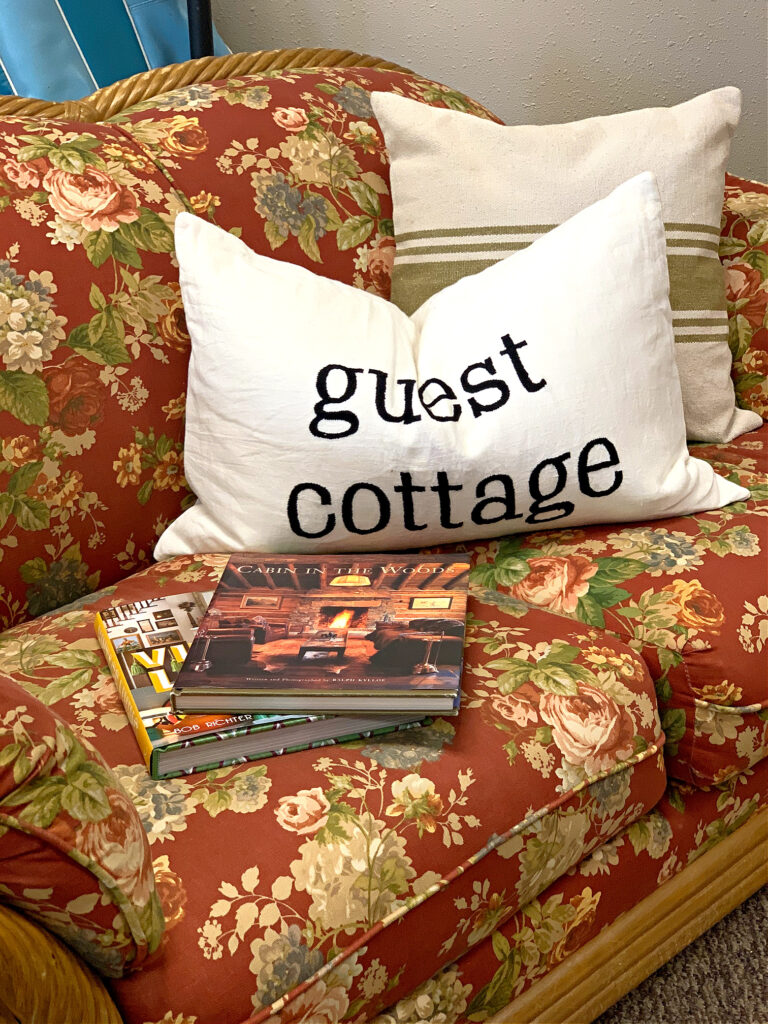
Find the Guest Cottage pillow HERE.
As often happens with Brian and me, a little spark of an idea becomes fun to plan. Each week we have a weekly date night and our conversations turn to dreams. Our guest room idea blossomed into a full guest house.
See how we keep date night possible and a priority in this post.
Why Build a Guest House?
We envisioned a guest house that would offer:
- Privacy for Guests: A place where guests could enjoy their own space while still being close enough to the main cabin to share meals and activities.
- Extra Room for Gatherings: We wanted to have an extra space that would provide a gathering area near the guest rooms.
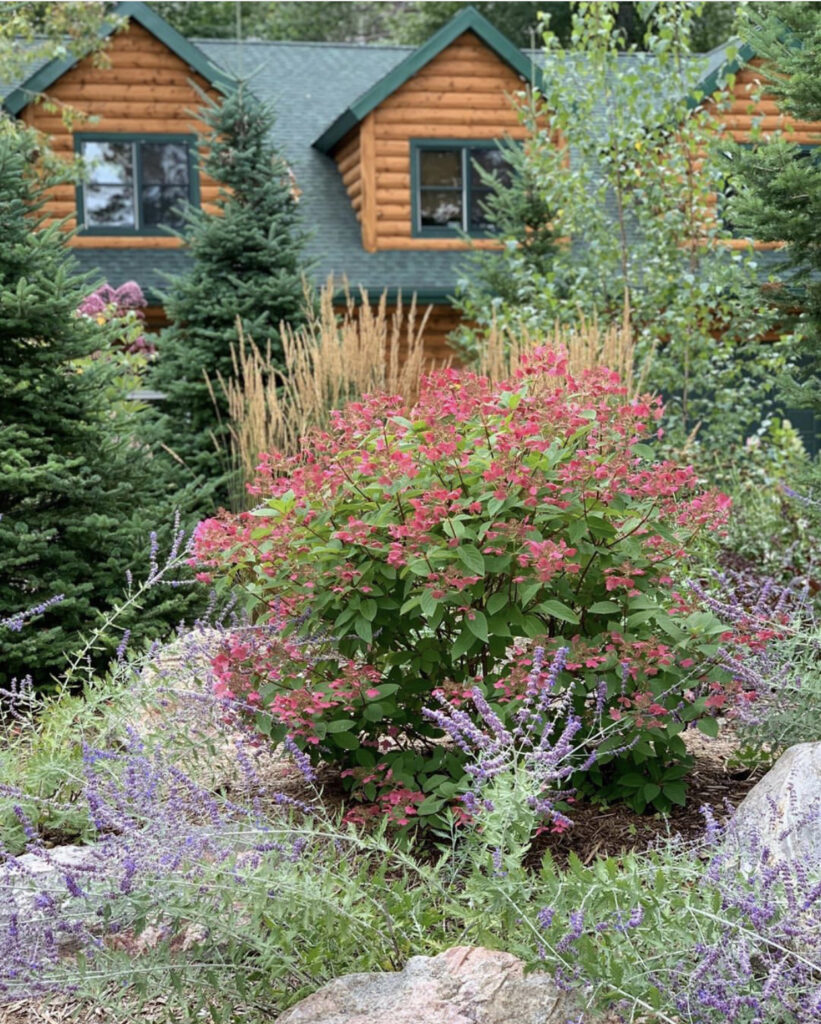
- Aesthetic Harmony: We wanted the guest house to blend seamlessly with the natural surroundings and the main cabin’s rustic aesthetic, so it would feel like a true extension of our home.
We also made a list of all the things we wished our main house had space for:
- extra garage space as our kids all started driving
- workout room
- designated guest room that can stay clean and ready
- extra bedrooms for older kids
Then I started sketching, searching the Internet and Pinterest for ideas inside and out.
Step 1: Planning and Design
The first step in building our guest house was determining the size, layout, and functionality of the space. We wanted something cozy yet functional, and ideally, it would not only serve as a place for sleeping and the sitting area, but also laundry rooms and bathrooms. We also officially added more garage space and a workout room on the dream list.
Here’s how we approached the design:
- Size and Layout: We decided on a two story cabin with living space above and garages below, a style that would fit within the existing footprint of our property. There would be a simple wet bar, a comfy living area, two full bathroom rooms upstairs, and cozy bedrooms seemed like the perfect balance.
- Material Choices: To maintain the rustic charm of the main cabin, we chose half log siding (even though our main house is full log) and natural stone accents for the exterior. So the look is the same. Lots of windows to let in natural light offer beautiful views of the surrounding nature. We included three dormers to coordinate with the two on the main cabin.
I took my sketch to a local designer and had them draw out the floor plan.
Step 2: Building the Guest House
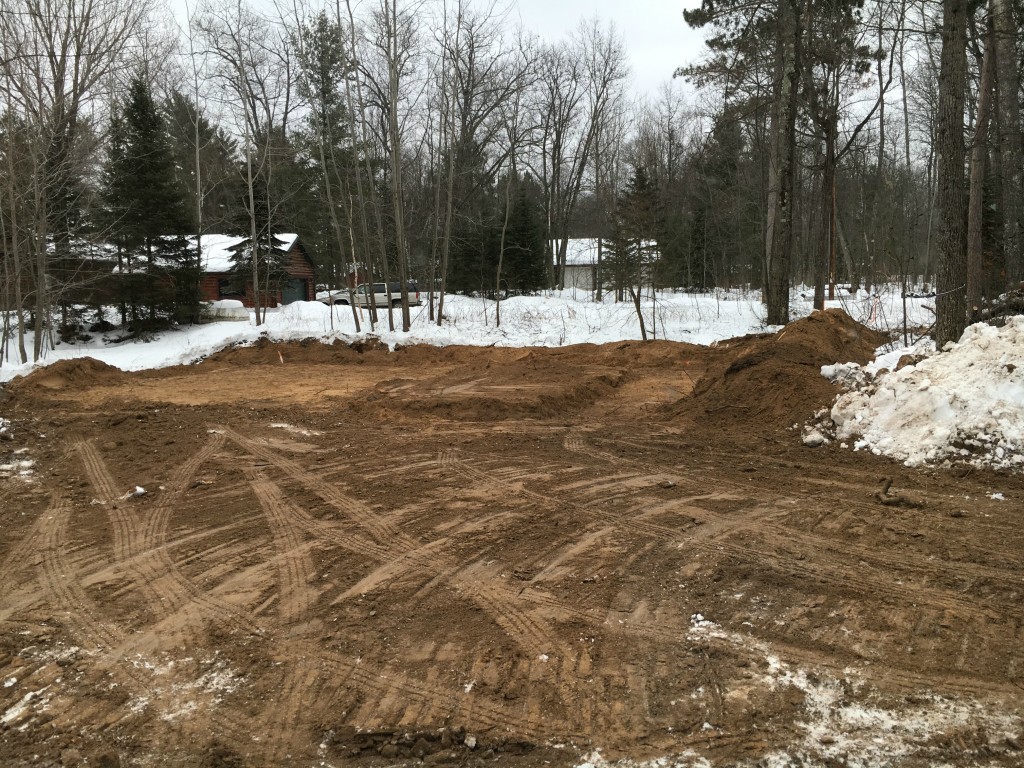
Once we had a clear vision and design, it was time to begin construction. We hired a contractor, but we were still very hands-on with the process.
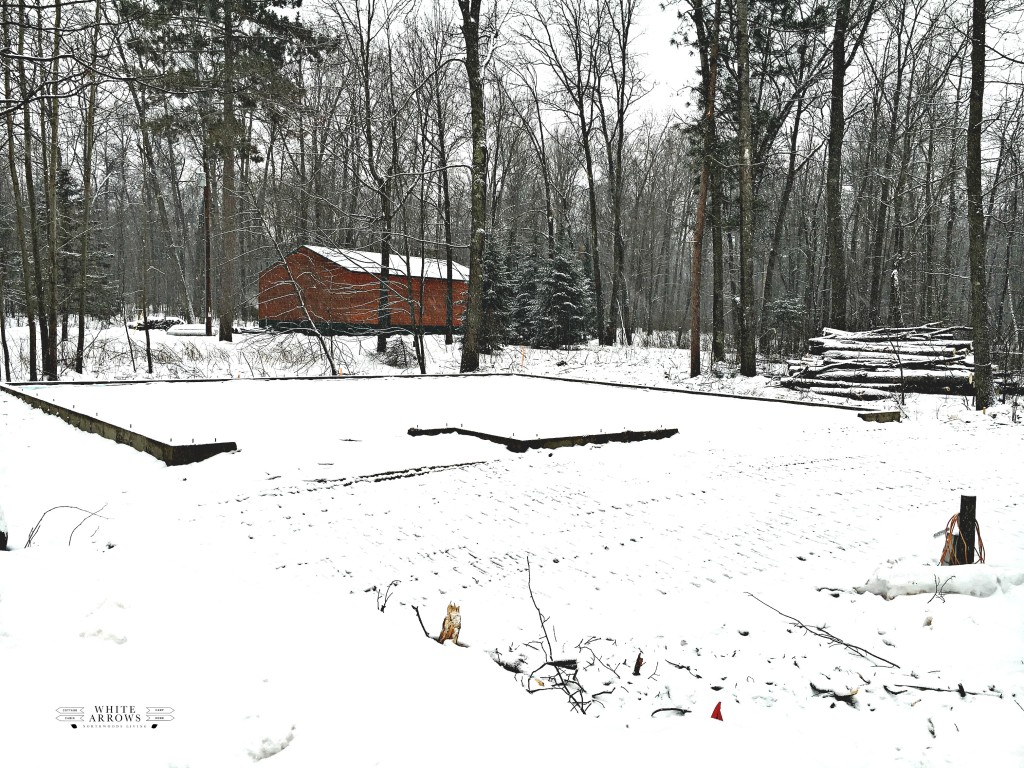
- Foundation and Framing: The foundation was the first step, and because we’re located in an area with cold winters, we went with a slab foundation that would keep the building insulated and secure. Once that was in place, the framing went up quickly.
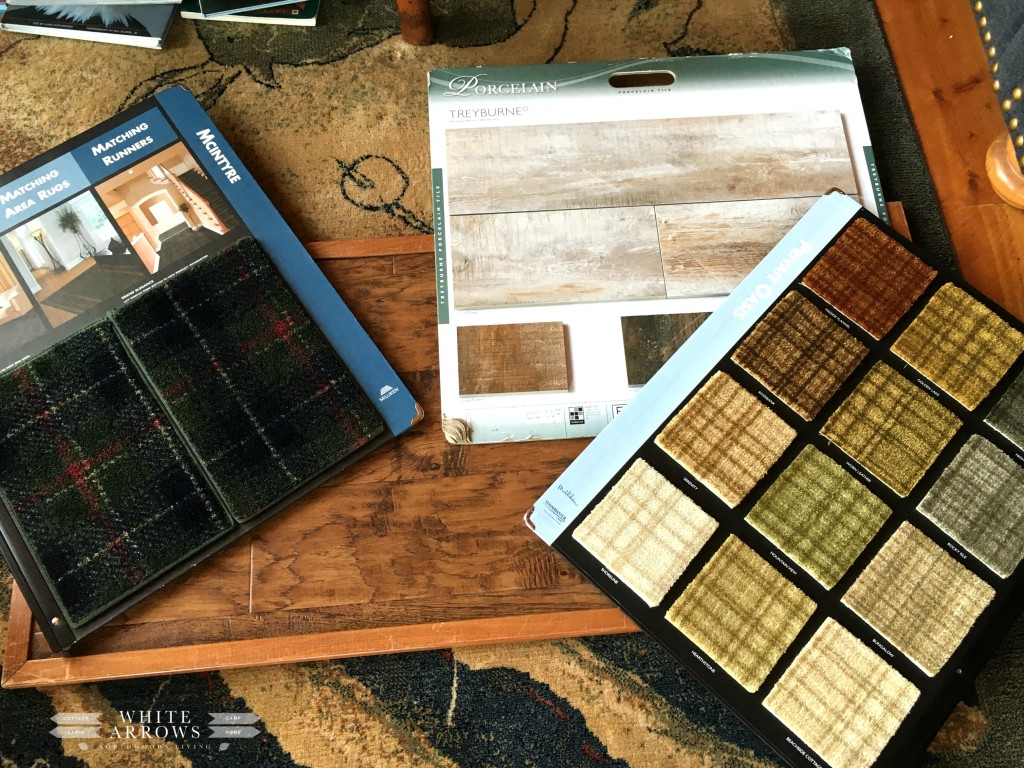
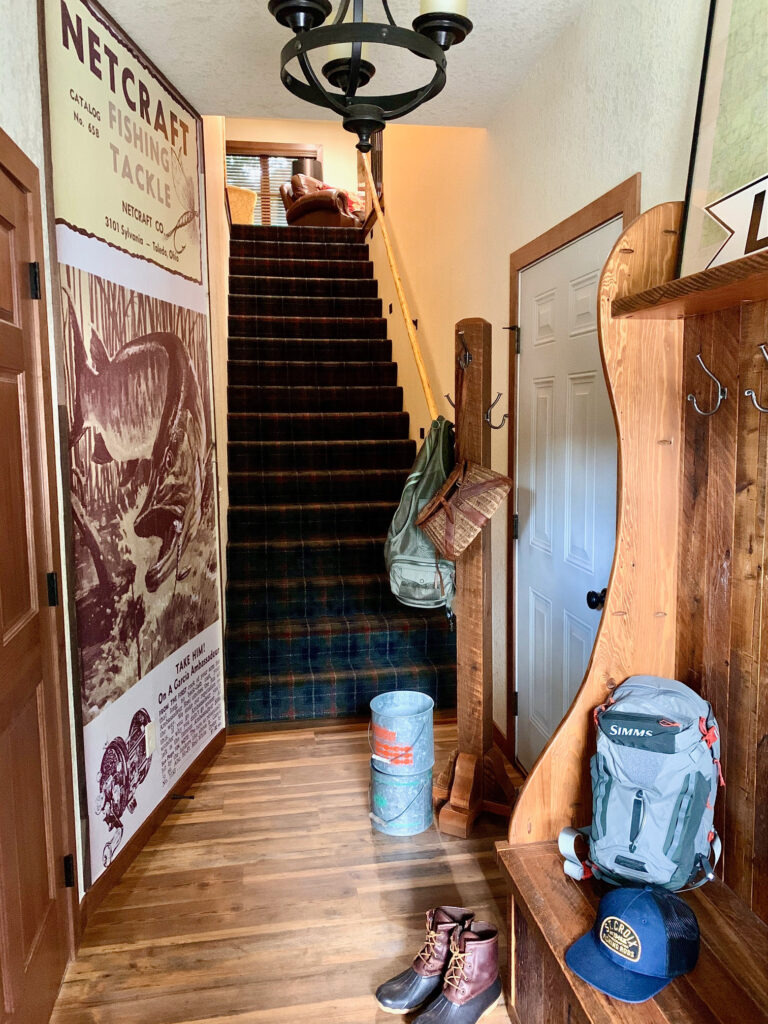
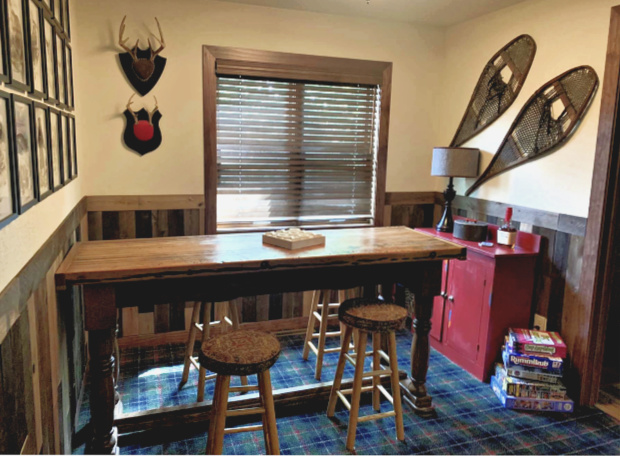
- Interior Work: Inside, we kept things simple and added the cozy with our decor and rustic cabinetry for the wet bar and bathrooms. I knew I wanted plaid carpet going up the stairs and in the main living area.
Step 3: Furnishing the Guest House
Once the structure was built, it was time to make it feel like home. We wanted the guest house to feel both stylish and comfortable, with all the little touches that make a space inviting. Here’s what we did:
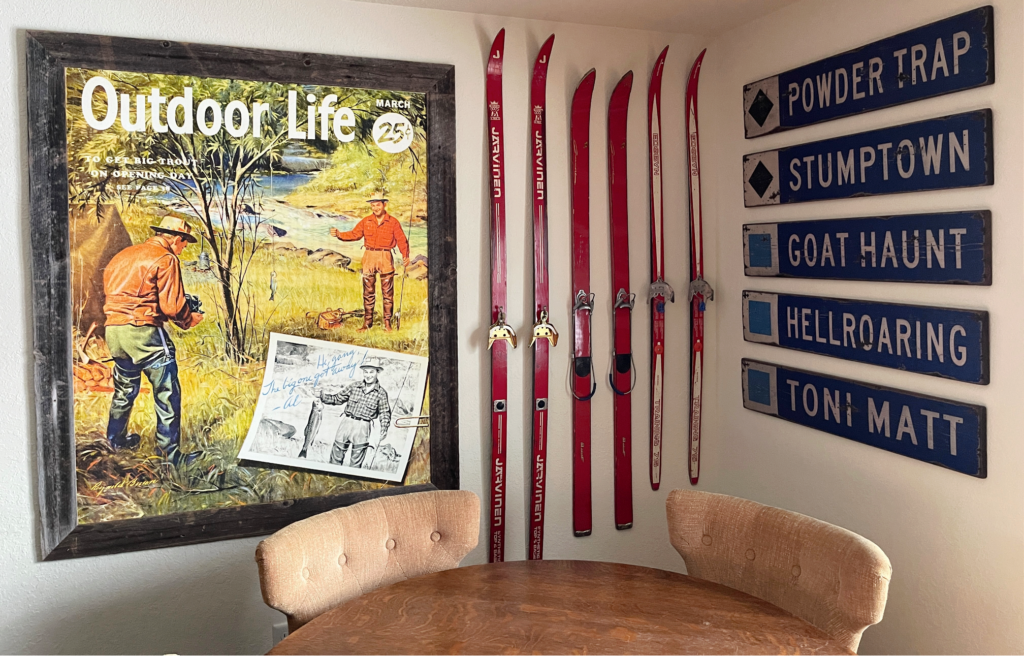
- Rustic Furniture: We went for a blend of vintage and rustic pieces—think wooden bed frames, a reclaimed wood table for puzzles and games, and plush, soft seating that would keep guests relaxed and comfortable.
- Cozy Bedding and Textiles: Soft bedding with down comforters, wool throws, and plenty of pillows made the bedrooms feel like a cozy retreat. We want guests to feel like they are staying in a special place, with plenty of blankets to snuggle under.
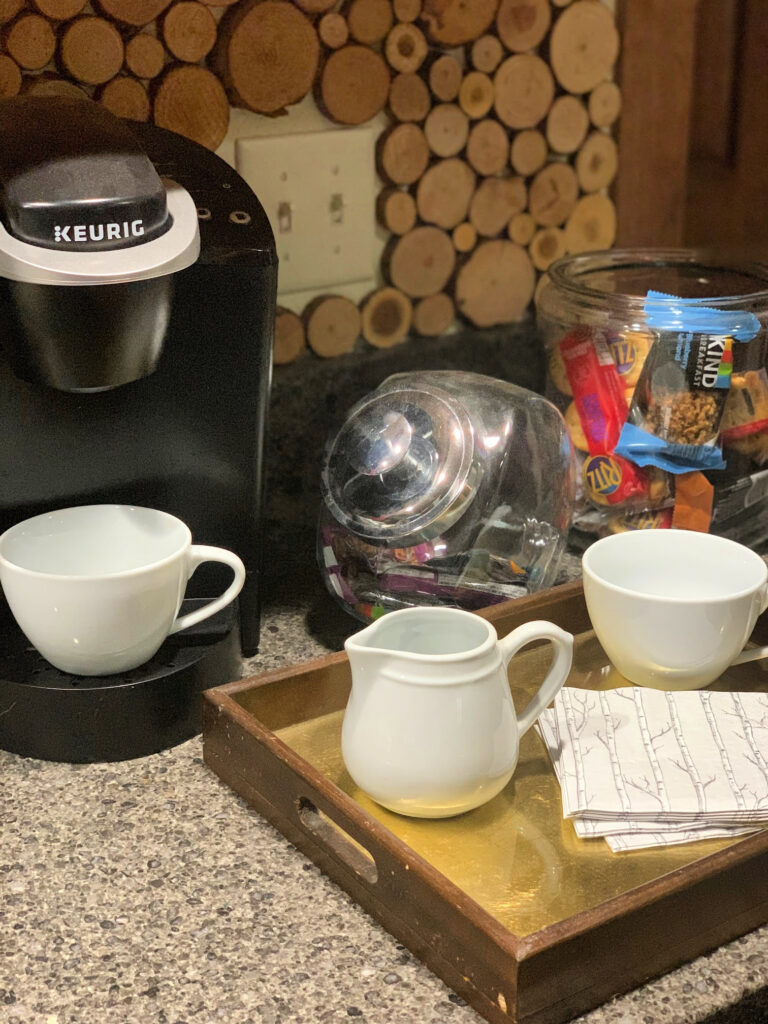
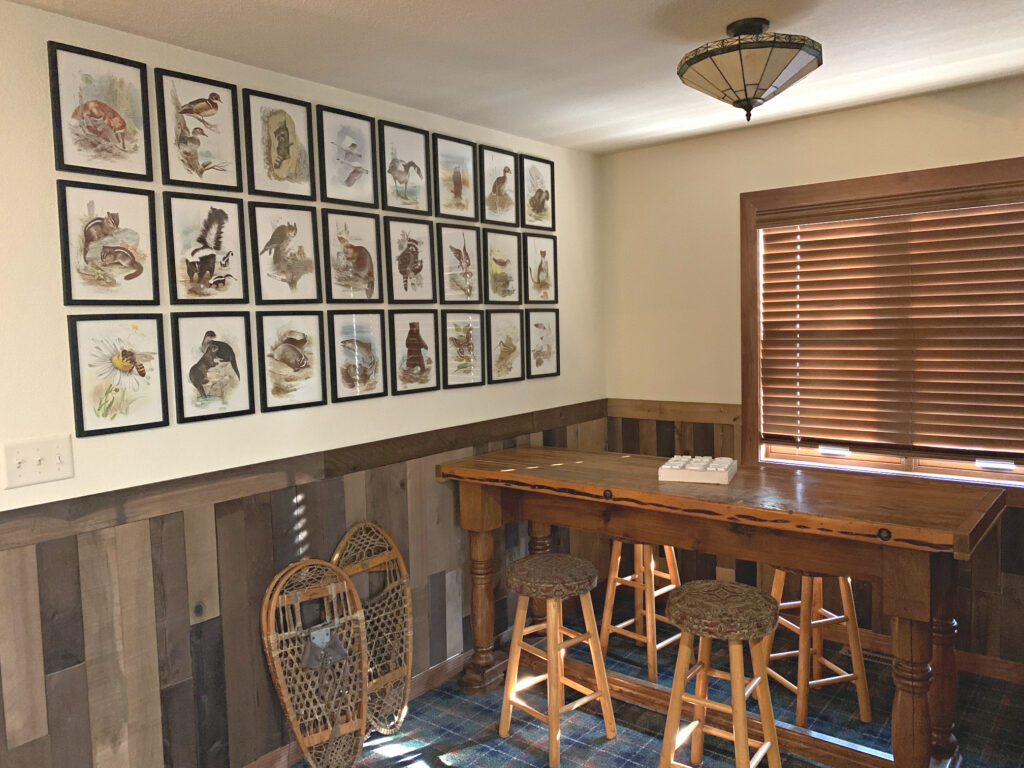
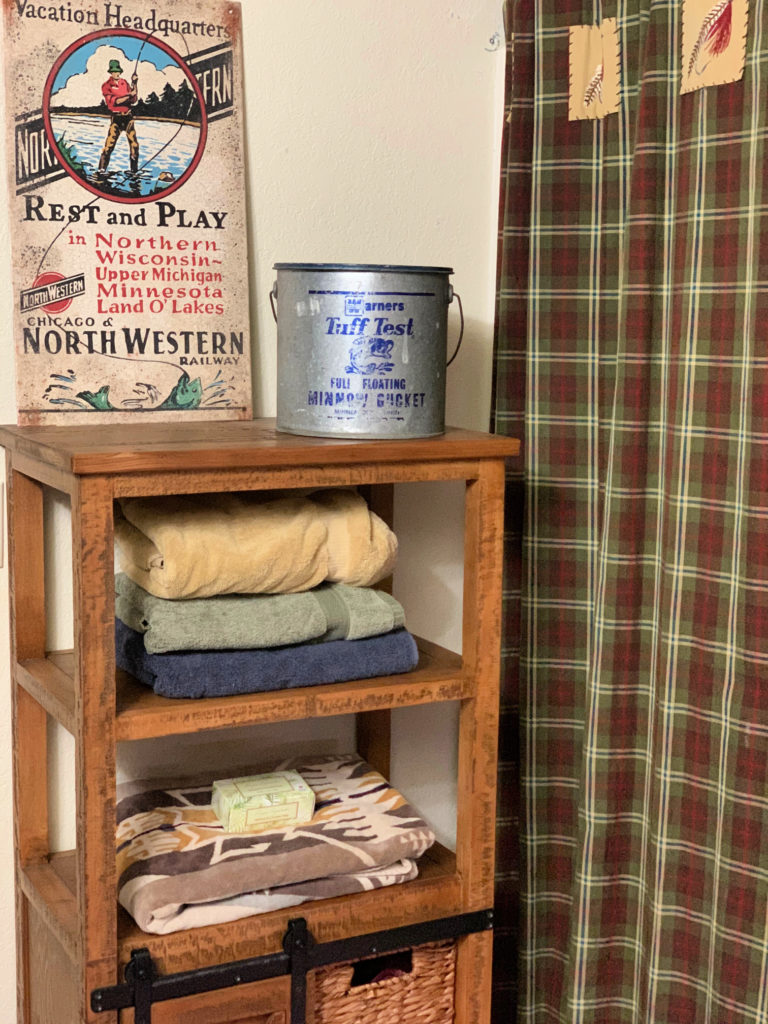
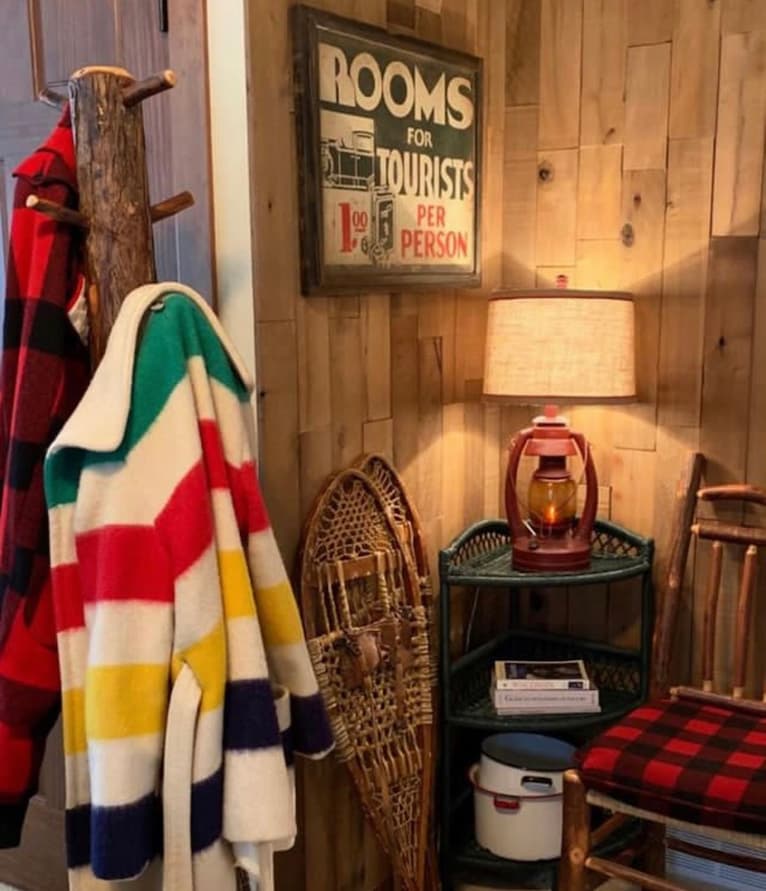
- Decor: The decor incorporates vintage elements like old paddles and snow shoes, natural elements like a wood backsplash, artwork, and lamps to add a warm light in the mornings and evenings. We also include little touches like fresh flowers or potted plants to bring the outdoors in when people come to stay.
Step 4: Making It Functional for Guests
While aesthetics were important, we also wanted to ensure the guest house was fully functional. Here are some features we incorporated:
- Wet Bar: We included a small wet bar with a mini fridge, sink, and microwave so guests could feel self-sufficient, but would still come to the main house for meals. A kuerig and self serve coffee station is on the bar to enjoy morning coffee or cozy drinks anytime.
- Bathrooms: The guest house has a two full bathrooms, one with a walk-in shower, and one with a shower tub that blend comfort with style.
- Wi-Fi and Technology: We ensured that there was reliable Wi-Fi throughout the guest house as well as a television in the sitting area.
Step 5: The Finishing Touches
Finally, it was time for the finishing touches. From hanging artwork to installing lighting, we took extra care to make sure the space felt welcoming and lived-in. We filled the shelves with books, puzzles and games for guests to enjoy.
For the lower level, we split the garages into a double garage and a single divided by a little porch and entry way to the upstairs.
The single garage we fit out for our workout room. Our family loves to workout together and its one of the most used spaces.
Adding a glass garage door on the workout room was one of the best decisions as it not only lets in a lot of natural light, but gives extra energy to workouts being able to see out. On great weather days we open the door up and use the inside space and the driveway.
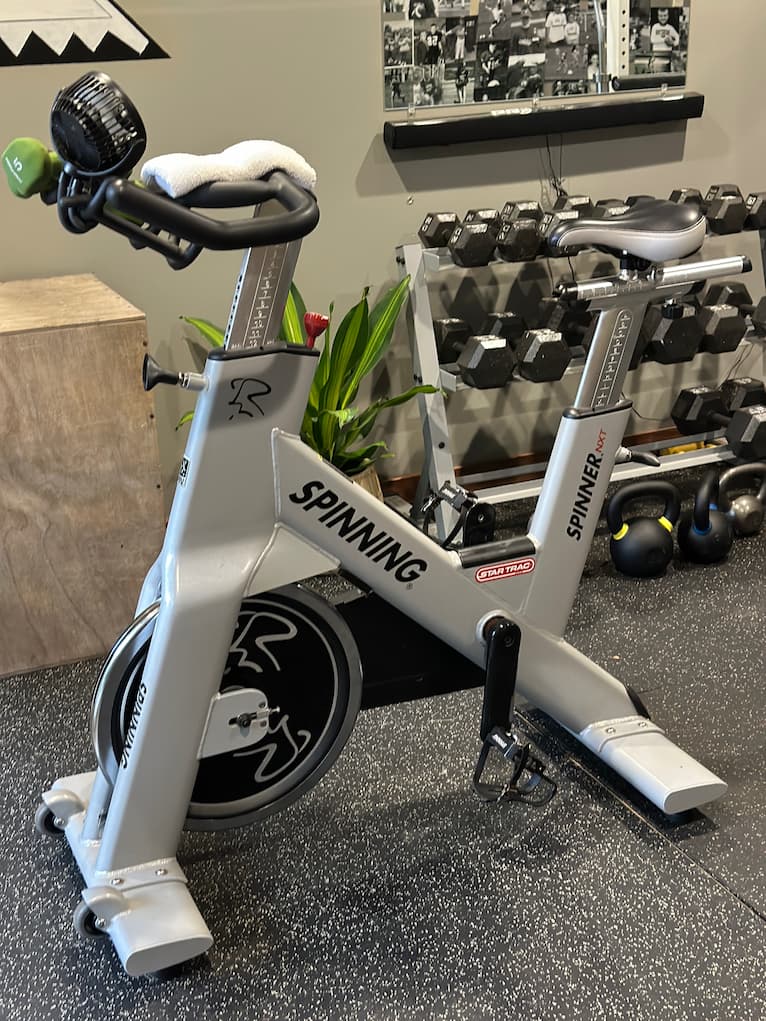
We also plumbed this space for a possible future kitchen in case we ever need a wheelchair accessible living area in the future. We would be able to make this workout space living space.
Step 6: Welcoming Our First Guests
After months of hard work, we were thrilled to finally welcome our first guests to the space. It was everything we had dreamed of—cozy, functional, and a perfect blend of rustic charm and modern convenience. Our friends and family loved it, and it’s quickly become a favorite getaway spot.
Tips for Building Your Own Guest House
If you’re considering building your own guest house or cabin retreat, here are a few tips based on our experience:
- Plan for Functionality: Think about the flow of the space and what your guests will need. Will they need a full kitchen, or just a small kitchenette? Will they come for a weekend stay or an extended vacation?
- Sustainability is Key: Consider using eco-friendly materials and renewable energy sources to make your guest house more sustainable.
- Stay True to Your Style: Whether you’re going for rustic, modern, or minimalist, make sure the guest house reflects your personal style and complements the main house and surrounding nature.
- Budget for Unexpected Costs: Construction always comes with surprises, so be sure to leave some room in your budget for unexpected expenses.
Final Thoughts
Building a guest house at our cabin has been one of the most rewarding projects we’ve undertaken. It’s not only provided us with more space to host family and friends, but it’s also given us a tranquil retreat that blends perfectly with the surrounding nature. Whether you’re dreaming of a cozy getaway or simply want more space for guests, a guest house is a fantastic addition that can transform your home.
We know many more memories are ahead for this beautiful space.
FOLLOW ALONG
Instagram ~ Facebook ~ Pinterest ~ Twitter ~ YouTube ~ Tik Tok ~ Liketoknow.it ~ Podcast
YOU CAN JOIN ONE OF MY FREE FACEBOOK GROUPS:
Join my Fireside Book Club over on Facebook. Request to join HERE.
Join my Call Me Old Fashioned Group over on Facebook. Request to join HERE.
Join my Fun Finds + Fabulous Deals Group over on Facebook. Request to join HERE.
LOOKING FOR CONNECTION?
Join one of the clubs at my shop located in our Paddle Club.
We have game nights, book clubs, cookbook clubs, craft clubs, workshops and events.
You can see what’s coming up next and sign up HERE.


